Pages

Showing posts with label braid out. Show all posts

December 9, 2013

Happy Thanksgiving! =)

I know Christmas is now around the corner, but I hope everyone had a happy Thanksgiving!

As for our Thanksgiving hair. My sister in the yellow dress is wearing a braid out, my sister in the black cardigan is wearing a bun with a flat twist, and I am wearing a twist out. =) 

Happy Thanksgiving again, and I hope yours was as delicious as mine!

August 24, 2012

Finger Coils & Braidouts & Straw Sets, Oh My! (Pic Heavy)

Hi all! 
Since I cut the rest of my relaxer off and finally became 100% natural, I've been experimenting with different methods and looks. This post is a quick breakdown of the ones I've tested so far.


Finger Coils
This was my first attempt at finger coils on my whole head. The method I used was to literally separate my hair and coil individual pieces of it. The only products used are the Cantu Shea Butter Leave-in Treatment and water. I think next time I'll try using gel too. Here's how it turned out:


(Excuse the Cantu Leave-in at the top right! Gotta blend that in better next time!)
VERDICT: I really like the curl definition! My main gripe about this style is that when it dries, there is mucho shrinkage. Shrinkage isn't really my enemy, but if I'm going for a stretched look, this isn't the way until my hair gets a little longer. 

Braidout
This was my first braidout ever in which I didn't have to use something to secure the ends of my braids!!! Remember when I used to have the problem of imminent unraveling!? Now I just braid my hair up and finger coil the ends and they stay put! Wooh! Just like this:


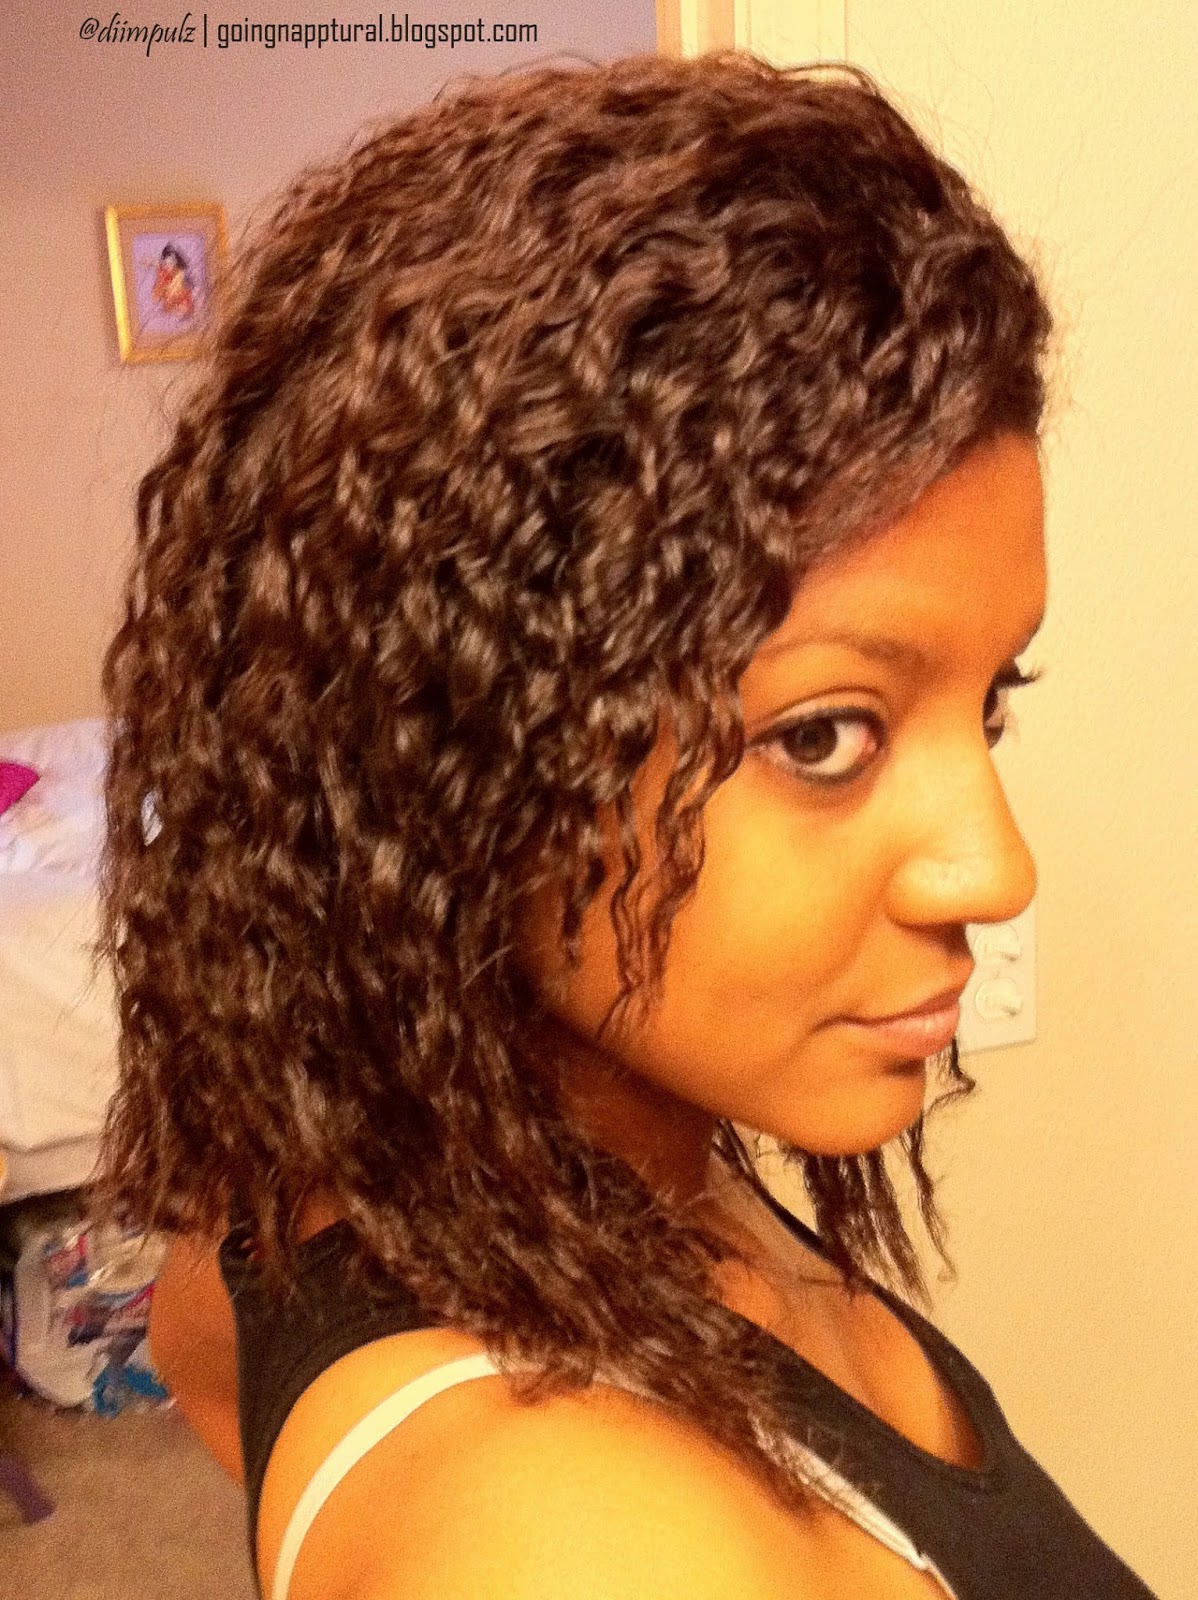
And this was the result:

Compared to how it would turn out at the very beginning of my transitioning journey:

Maaaaaajor volume difference!!
VERDICT: I like the braidout, but it's not quite my favorite look. I really haven't mastered it yet and need more practice before I'll feel comfortable wearing it out like this. Plus, there are still a few straight ends scattered about and I feel like they're very visible because, just like when I was all relaxed, the ends don't curl.


Straw Set
Of course. The go-to. It doesn't look much different from what it looked like before I cut the ends off: 


BUT, it looks VERY different from the straw sets at the beginning of my journey as well:

Yet ANOTHER dramatic change.  Uh..i think you know the verdict for this one! I love it so much more now! It looks so......."lifeless," is the word that comes to mind, in that last pic! Since I've been straw setting throughout my whole transition and this major volume change was gradual, it's still a shock to see it side-by-side every time! Lol.

Click Here For My Straw Set Tutorial

Speaking of straw-sets, I am definitely going to be doing a giveaway of a "Straw Set Kit" for one lucky blog reader. If you're transitioning, this is perfect for you. I plan to give away all of the products I used (and am still using) to create a straw set during my own long-term transition.  I need to make a video to let my YouTube subscribers in on the details and once that happens, I'll post them here as well. But, I wanted to give my loyal American readers a heads-up before then! (I am soooooo sorry to exclude international readers, but I don't have the resources to ship overseas at the moment. It's a possibility for future giveaways though!) So, be on the look out for that! 

Aaaand..speaking of YouTube, this post has inspired me to do a video montage of side-by-side comparisons of hairstyles just like this. I think that's what's next on my YT video to-do list!

Well, that's all for now!
Thank you for reading and have GREAT weekend! 

P.S. You can follow me on Instagram for more hair photos! My username is "diimpulz."
If you choose to follow, let me know that you found me through my blog! =)

December 23, 2010

Sister Locks

 Hi!
I am currently on the east coast (Maryland) spending the holidays with my boyfriend and his family. I've been pretty busy, hence the hiatus from posting.

In regards to the title: no, I didn't try out the sister locks style. But this is my sister, and these are her locks. Haha!

She's a type 2 curly (wavy) with a few sections of 3 curls sprinkled throughout. Her hair is long and very thick and has the tendency to dry out easily. Because of that, it poofs out a lot, and she wanted me to try something on her hair to tame the poofiness. So, I told her we could try a braidout.


She really liked it. And though it still has a lot of volume here, it's a lot less poofy than normal. She also liked the definition she got because normally, her hair is so dry that her waves aren't very defined.

I will try to update when I have more time! =]

November 21, 2010

Salvaging a Braidout Fail

On the previous post, I mentioned that I had my hair in braids and was going to take them out later. I was economical and used the clipped ends from the straws I used to do my straw set at the end of the braids so that I wouldn't have straggly ends.


However... I realized I need to stick to parting my hair down the side, because I don't like the shape of the hair when I part it down the middle. So, I had to figure out something I could do with a middle-parted braidout to salvage the work I put in last night braiding it. I ended up doing some version of a chunky flat twist with a side pony. A new style idea that I've never tried before.


This is the back:


Overall, it's just kind of...meh. I like the back, But I'm not crazy about the front. It's lopsided and uneven. It looks better than the full braidout did though.And with more practice, I think it can be really cute. Oh well, lesson learned-keep my parts off to the side, not down the center.

October 21, 2010

Braid Out!

I wore a pretty cute braid-out today. Here's how I did it:

Washed my hair in the morning. It was about 80% dry when I decided to put the braids in. Then I applied some Olive Oil Hair Moisturizing Lotion and Olive Oil Root Stimulator spray along with a spritz of water and combed it out.

I sectioned my hair into 3 different parts. I made one part that went from ear to ear and another that went right down the center of my head until it met the previous part. I didn't take the center part all the way down to the nape of my neck because I didn't think it would blend as well. So I ended up with one back section and two sections in the front on each side. Then I sectioned each section and began braiding:


I made around 16 braids all over my head:

I slept in them over night. (I need to go buy a silk head scarf to wrap my hair at night!)
In the morning I undid the braids and combed through them with my fingers. I sprayed more olive oil spray to hold them together and tousled my hair so it would fall the way I wanted it to.

Here are the results:


And I was ready to go! It was soft and shiny throughout the day. I was happy with the results.

I'm having trouble figuring out how to set the ends of my braids though. As of now, I'm using some Goody Girl hair ties and they aren't working the way I'd like them to...the texture of the braided hair clashes with the texture of the "banded" hair. Anyone out there have any suggestions? Thanks!