Pages

Showing posts with label transitioning hair style. Show all posts

February 15, 2012

Birthday Hair

Hello!
Yesterday was my birthday, and I wanted to do something different and fun with my hair. I decided on going for a modern head-to-toe version of the 1940's pin-up era.I found a tutorial  for this updo on YouTube. You can watch it by clicking here. I modified it a bit because what she did just wasn't working for me. My hair would not stay and jest kept falling apart, but I really liked the style she came up with. So, I just created my own method to get the same style. I was weary about wearing my hair to school like this, because I thought it might be a bit much, but I still did. I was going out with my boyfriend right after class anyway and shoot...it was Valentine's Day! Lol. I got a bunch of compliments on it though. My professor said it made me look like a "movie star." =) I do like the way it turned out and I'll probably use it again for special occasions. 

And here's the finished pin-up look with the outfit! =)


I hope you all had a fantastic Valentine's Day and spent it with the people you LOVE. <3
That's all for now! =)

August 14, 2011

4 Easy, Stylish Ways to Bun Your Transitioning Hair

I'm currently 10 1/2 months post relaxer. Woot! When I'm too lazy/tired to set my hair at night, or running short on time to do it in the morning, I don't want to sacrifice my transitioning hair to a boring bun. Here are 4 of my favorite ways to make a bun stylish in 10 minutes or less.


April 26, 2011

Easter Weekend

I hope everyone had as nice an Easter weekend as I did, regardless of whether you celebrate or not! =)

  The weekend started off with a trip to Malibu for my boyfriend's photography class. His assignment was to take 400 total headshots from 2 different "models." 100 indoors and 100 outdoors for each one. So of course, over the course of the weekend he enlisted my help for said assignment! Haha. Here are some photos from that first day on a fresh straw set. I kind of gave my hair more of a shape with some all-around layers and longer pieces in the front. You can sort of tell in these 2 shots:


The following day (Saturday) we headed to Six Flags-Magic Mountain. I LOVE rollercoasters!!! Unfortunately, we picked a bad weekend. I didn't realize it was Spring Break for most schools since I had my Spring Break 3 weeks ago. -_- That meant long lines. Nevertheless, we both had a lot of fun.

You can really see the cut I gave myself in this candid that Ryan (boyfriend) took. You can also see the color in the sunlight from the henna treatment. Look at it against my black top to get a better idea.

 Here are some more shots from Easter Sunday on a 3-day old straw set and after my hair being wind-whipped from riding roller coasters the day before:


I've finally figured out a method of shampooing my hair that doesn't get it all matted and tangled up in the process. I had to find a method ASAP because now that my hair has 7 months of new growth, it's gotten so easy for that to happen. I wouldn't call it a "pre-poo" method, as I understand that to mean applying oils and other products, (I don't want to deal with all that) but it is in a sense that it's something I'm doing before I shampoo. Really, I just add a a whole lot of conditioner to my whole head, detangle the hair that way and then rinse out the conditioner. After that, I braid my hair into two chunky pigtails, and shampoo my scalp with the braids still in it. It keeps the hair from getting all nasty and knotted up, and cleanses it just the same. After I'm done shampooing, I rinse the lather off down the braids and then apply conditioner. While the conditioner is in, I undo the braids, comb out/detangle my hair in the shower and resume my other routine showerly duties. I'll maybe do a short video on that later.
Anywho, that's all for now!
Hello to my new followers & thanks for keeping up with me as I document this thing! 
Have a great week! =)


January 30, 2011

NBA Game Hair

The roommates, our boyfriends and I went to a Los Angeles Clippers game today. I'm not a fan, but we got really cheap tickets so we made a fun group outing out of it. I don't have any red clothing, so I opted for red accessories instead - including this new flower I bought that goes perfect with any kind of bun. This chunky, flat-twisted, low side bun is another one of my favorite transitioning styles because it's so EASY. With easiness comes convenience, for those days after a night that I just didn't feel like setting my hair. It's also a cute, polished look that I feel comfortable wearing anywhere.


December 10, 2010

It's Been a Little While


Hi all! 
I've finally finished Fall Quarter of classes and today marks my second day back at home! 

I haven't posted in a while because I haven't been doing anything special with my hair. Just the usual straw set that's been lasting me 4-5 days. Don't mind my thrilled face here. Haha!

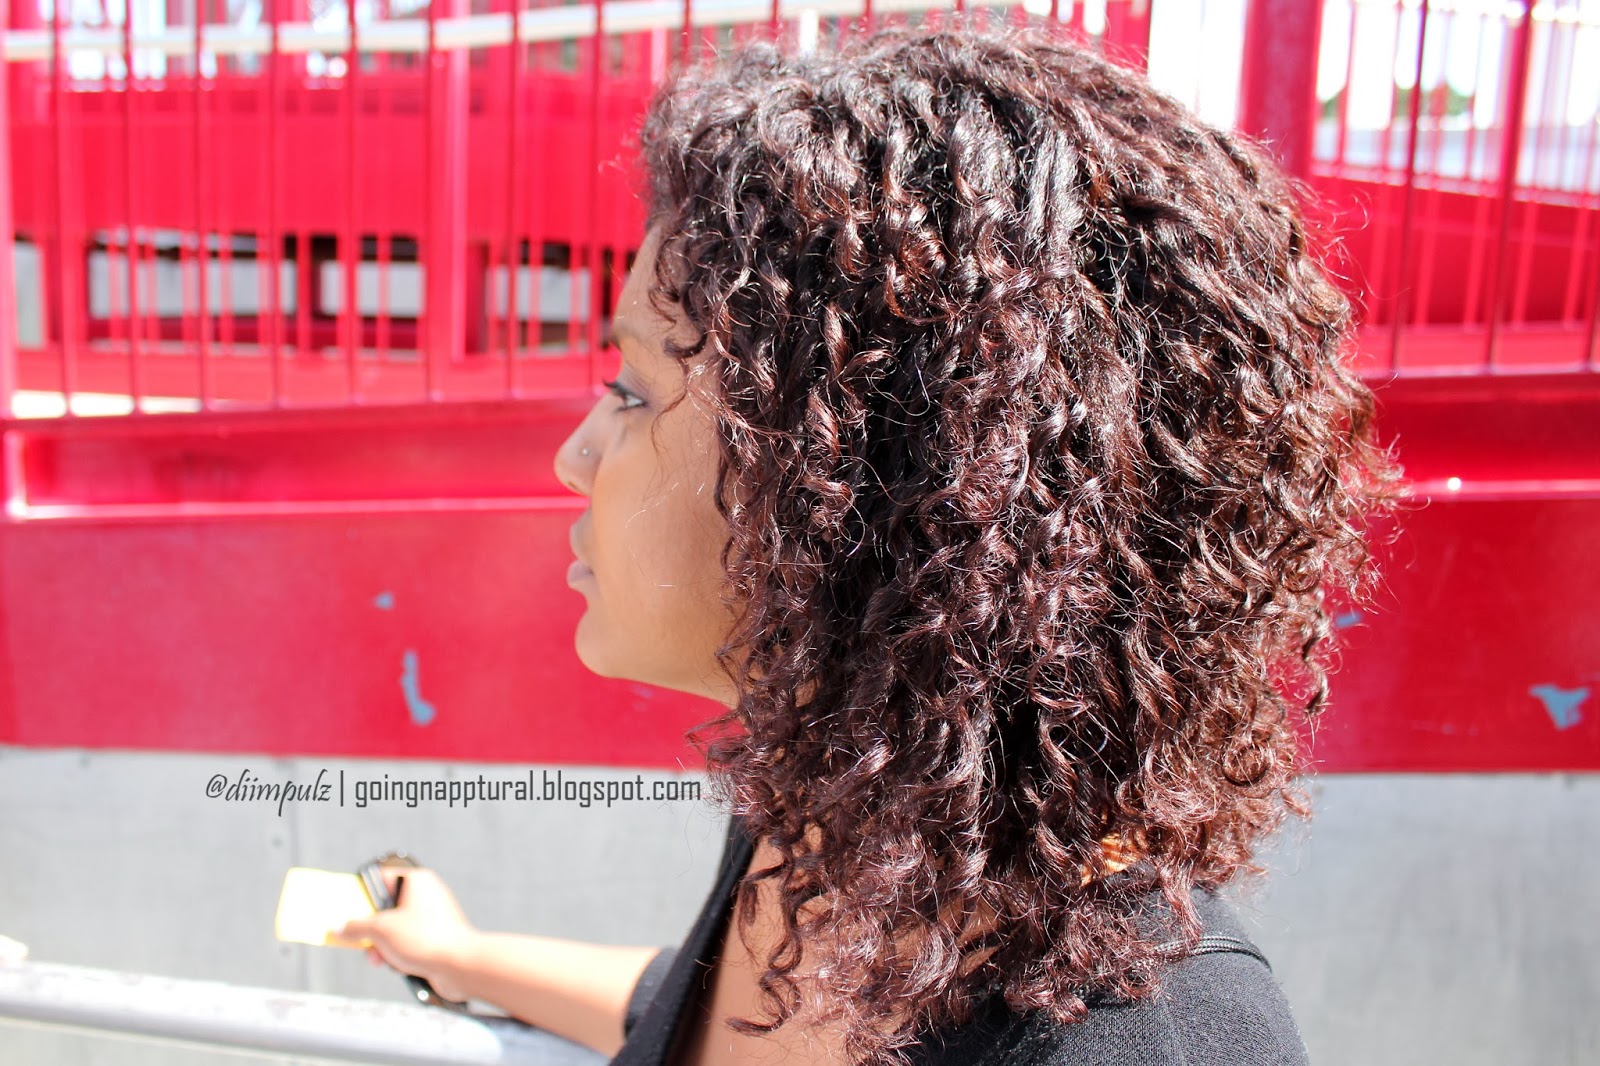
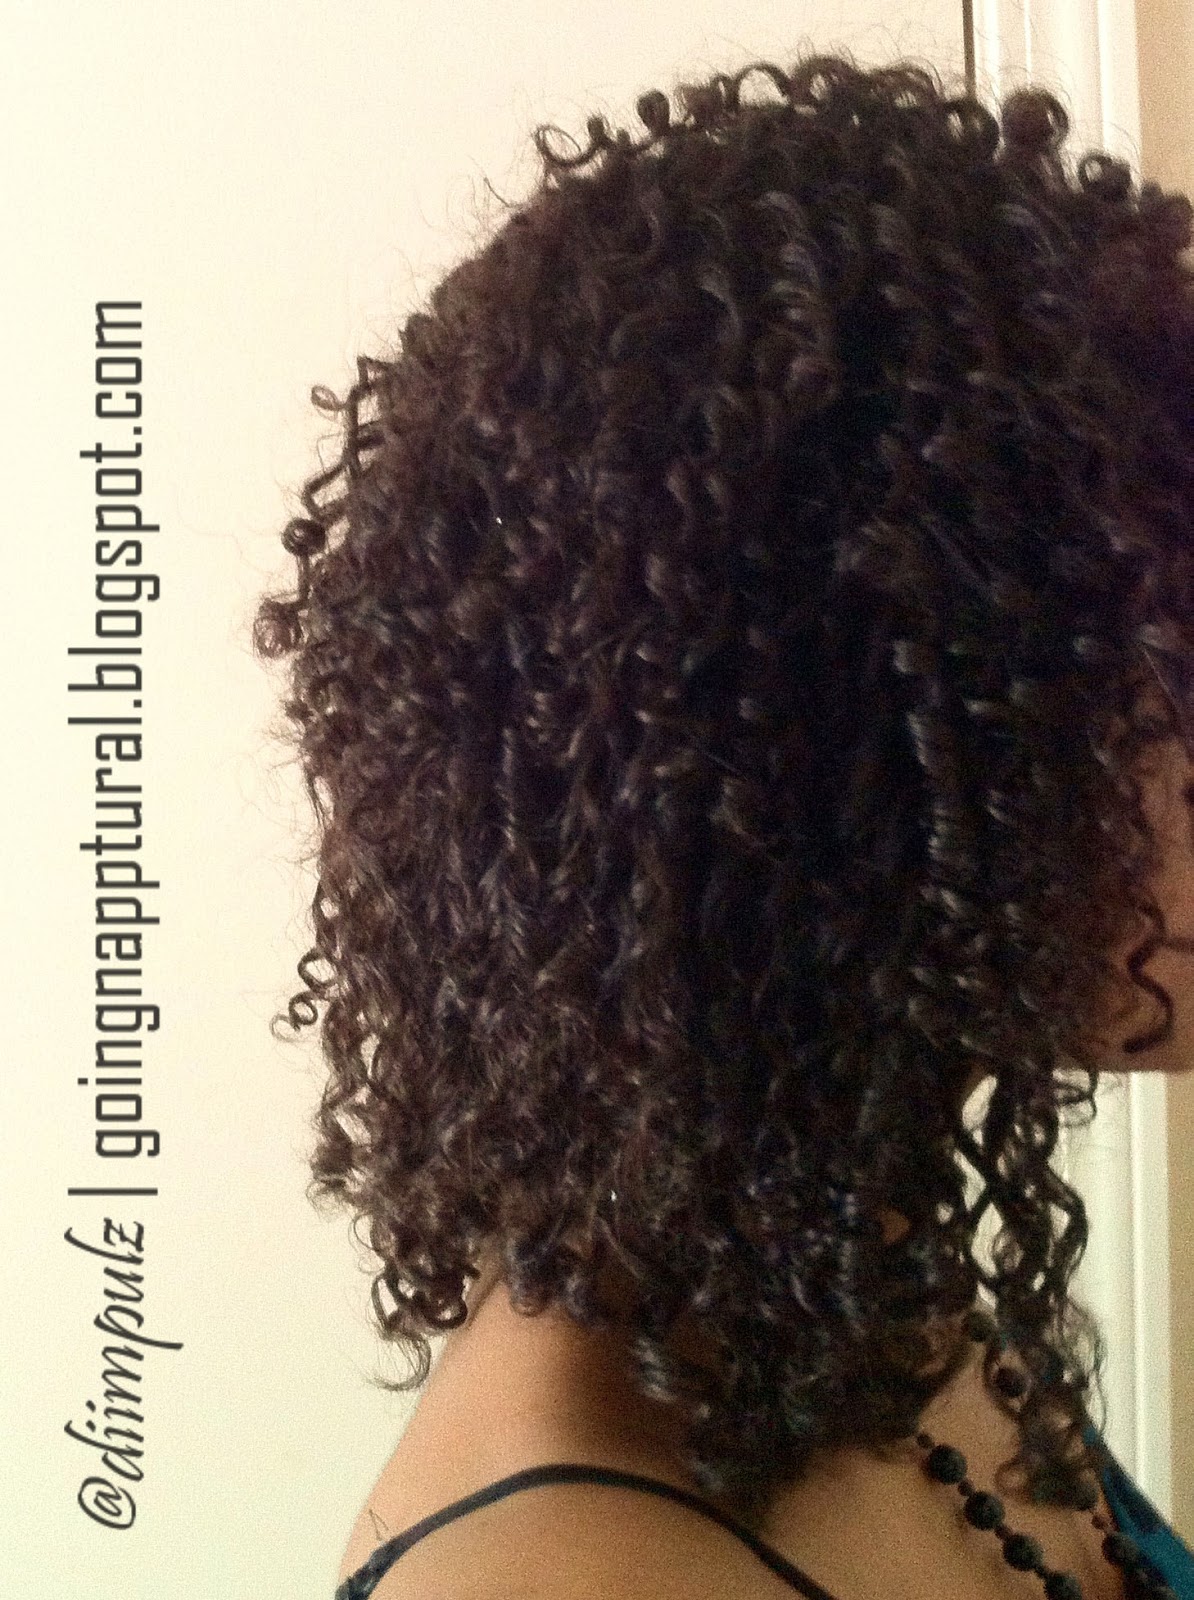
I noticed when I did this particular straw set, that I've got a good 4 inches of growth now.  By Christmas, I'll be 4 months into my transition. If i continue at this rate, I'll be at a comfortable enough length to do my mini-chop after 12 months. My goal was 16 months, but let's see how fast my hair grows.
You can see the clear differentiation in textures.
On that same note, does anyone know of any vitamins I can take that promote hair growth? 

Something else I noticed during this straw set, was that using the Cantu Shea Butter and following with the Eco Styler gel are probably going to work well to define my curls when my hair grows out. I say this because I realized my natural curls were really defined when I took the straws out after my hair had dried.


November 29, 2010

Twist Out Help?

So I'm still rocking the straw set. I'm telling you, it's my favorite! I wore another straw set this Thanksgiving weekend. It lasted me a full 5 days again and I'm still getting compliments and a lot of "this hair is so you." Hmm..a style closer to my natural texture is "so me?" Who'da thunk? Haha! Anyway, the straw set is quickly  becoming my staple transitioning style. =]

Anyway, I really want to try a twist out, but I CANNOT figure out how to twist my hair! The process seems simple enough, but each time I have tried it, The twists just unravel and don't stay put. Does it have to do with the fact that my ends are relaxed? Most tutorials I've seen feature girls with fully natural hair and I'm thinking the natural texture is what helps hold them in place. Does this mean I can't wear a twist out while I'm transitioning? Help!!! Are there any YouTube tutorials that have a good thorough explanation of how to set the ends of twists?  I really want to figure out the twist out!

November 21, 2010

Salvaging a Braidout Fail

On the previous post, I mentioned that I had my hair in braids and was going to take them out later. I was economical and used the clipped ends from the straws I used to do my straw set at the end of the braids so that I wouldn't have straggly ends.


However... I realized I need to stick to parting my hair down the side, because I don't like the shape of the hair when I part it down the middle. So, I had to figure out something I could do with a middle-parted braidout to salvage the work I put in last night braiding it. I ended up doing some version of a chunky flat twist with a side pony. A new style idea that I've never tried before.


This is the back:


Overall, it's just kind of...meh. I like the back, But I'm not crazy about the front. It's lopsided and uneven. It looks better than the full braidout did though.And with more practice, I think it can be really cute. Oh well, lesson learned-keep my parts off to the side, not down the center.

November 20, 2010

Straw Set Tutorial

I was listening to my iPod when En Vogue came on
and their album cover popped up on my screen:
Disclaimer: I do not own this image. 
Love the hair! =]

Because a few people have asked, I made a tutorial on how I do my straw set. I also included how I sleep to preserve and maintain the curls overnight. Hope this is helpful! =]


November 18, 2010

Homemade Hair Accessory - Little Black Bow

I wanted an accessory for my hair today, and decided on a bow. Unfortunately, I didn't have a black one to match my outfit today. So, I opted on making one myself. It came out cute and I took photos so I can easily remember when I want to make more of them, and of course, to share with anyone who wants to try it out too!

                                  I started off with a short piece of black ribbon.                                 
  
Then, I hot glued it into a loop

I took another piece of ribbon. 
This one was thinner than the initial piece.

I tied the thin piece around the center of the initial piece.
                        
This  is what it looked like.

Then I took a second piece of the same initial ribbon.
This piece was a little longer than the piece I looped.
I took a hair clip (I actually found that a bobby pin works better,)
opened it up, and placed the ribbon through it.

I then folded the ribbon over like this, 
and hot glued the fold so the bobby pin was secured.

Finally, I took the top half and hot glued it to the base. 
The finishing touch was to cut the edges of the ribbon at an angle.

The whole thing took about 5 minutes 
and it was just the thing I needed to jazz up my 'do.
This is my third day hair. =]

The curls are still hanging in there!


November 17, 2010

Second Day Hair

Day two of my straw set. I almost like this style better the second day with a little teensy weensy bit of frizz because the curls look more natural and less manufactured. The curls are still nice and defined and it's still got volume and bounce/body. I didn't pin the side of my hair today like I did yesterday. Instead, I just kinda brushed some hair from the front off to the side. It looked really cute though and I got so many compliments on my hair today that I really lost count! haha.

Webcam pics... not as good quality as my iphone photos, but they serve their purpose nonetheless. =]


I'm hoping to make this style last 5 days (until Sunday) and then I think I'm probably going to re-do the straw set. I really, really like it! =]  Until next time!


November 16, 2010

Straw Set Results

After removal of all these straws...

...here are the results of my straw set.
They look sort of like dreads in this blurry photo:

Here's a better one from the side:

After piecing them apart:


After adding a side comb:

Ready to go!

Love! I'm going to try to milk this straw set as long as I possibly can. Stay tuned!


Click Here For My Straw Set Tutorial

New products!

I finally got the chance to go out and buy some new products! I needed a leave in conditioner (I bought the CAntu Shea Butter Leave-In) and something to hold styles and sets so I bought Lottabody Texturizing Setting Lotion and the Eco Styler Gel. I also bought more bobby pins, and some spray bottles for water and leave-in conditioner. Now, a couple days ago, I ran across some videos on youtube that showed tutorials and results for straw sets and flexi rod sets. I LOVED both of the looks, so, of COURSE I also bought 3 packs of flexi rods and 2 packs of straws. Ha! I was really eager to try out the straw set, so I set out to do it last night. It took a LOT of patience.

I put my new products to the test:

I washed and conditioned my hair and blot-dried it with a towel so that it was still about 75% wet. Then I parted my hair into 4 big sections (down the middle and straight across) and clipped three of them away. I sectioned of the chunk of hair into much smaller sections. For each of the tiny sections, I combed through some of the Cantu Shea Butter and then followed with the Eco Styler gel. Then, starting at the bottom of the straw, I wrapped the hair around all the way to the top and secured the straw with a bobby pin.

After much sectioning and wrapping, this is how my head looked.


Then, I wrapped them in a satin scarf and....slept in them. Yes, I slept like this.Why? Haha, because I'm determined to not use any heat on my hair if I can help it (which I can.) It was extremely uncomfortable at first, I had to find a position that would allow me to actually fall asleep - on my stomach with my face almost right in the pillow. Finally, I dozed.

This morning when I woke up, I realized I ended up rolling over onto my back, as the straws at the back of my head weren't sticking out anymore. They had bent to the shape of my head.


I don't have to go out anywhere for another couple hours, so the straws are still in my head and I will update with the results right before I leave the house!

October 26, 2010

First Bantu Knot Out Attempt

Because my hair is on a heat-free styling diet while I transition back to natural, I am having fun experimenting with different looks. This is my first ever attempt at bantu knots. I didn't wear them out, but put them in at night and took them down in the morning instead. .

First things first, I parted my hair (at this point, it was about 90% dry) into 16 sections.  Section by section I detangled my hair with the Olive Oil Root Stimulating Nourishing Spray and the Moisturizing Hair Lotion. Then, I started the bantu knots by making two-strand twists. Then I wrapped them around into the knots and secured them with bobby pins. (I made 1 or 2 bantu knots per section.) The sections I made weren't perfectly parted, but I didn't mind because my hair blended better when I took them down. When I wound them down to the bottom, I secured the knots with bobby pins and then I did some homework. ;)


 Here's what they looked like when they were finished:


The next step was to sleep on them...which really wasn't comfortable at all. Luckily, I had the knots in place for a couple of hours as I did my homework before bed. So, I figured I would take the bobby pins out to make it easier to sleep on. The knots stayed in place for the most part and the two-strand twists stayed completely together. When I took them out in the morning, I wasn't disappointed.


Don't ask me why I'm smiling at the floor in this one! Haha!

I like that I can get a curling-iron look without the heat damage.
Two ways to wear it:


Success? For a first attempt, yes. I still want to play with different techniques and sizes until I get a flawless finish. But for my very first try, I'm satisfied!